
Silver Grains To Square Pixels
Scanning - necessary evil, or all part of the creative process?

Warning! Nerd alert! The following is a slightly more techy than usual.
My earliest experience of the process began when I bought my first flatbed, an Epson 4870, back around 2003-4. It was all a new, steep learning curve. Whether I never gave it a proper chance, or simply that digital cameras were coming within financial reach, my early efforts soon lapsed, giving way to my shiny new digicam, a Canon Powershot S70. Pretty much from then on, pixels were in, grains were out.
Until 2019, that is..
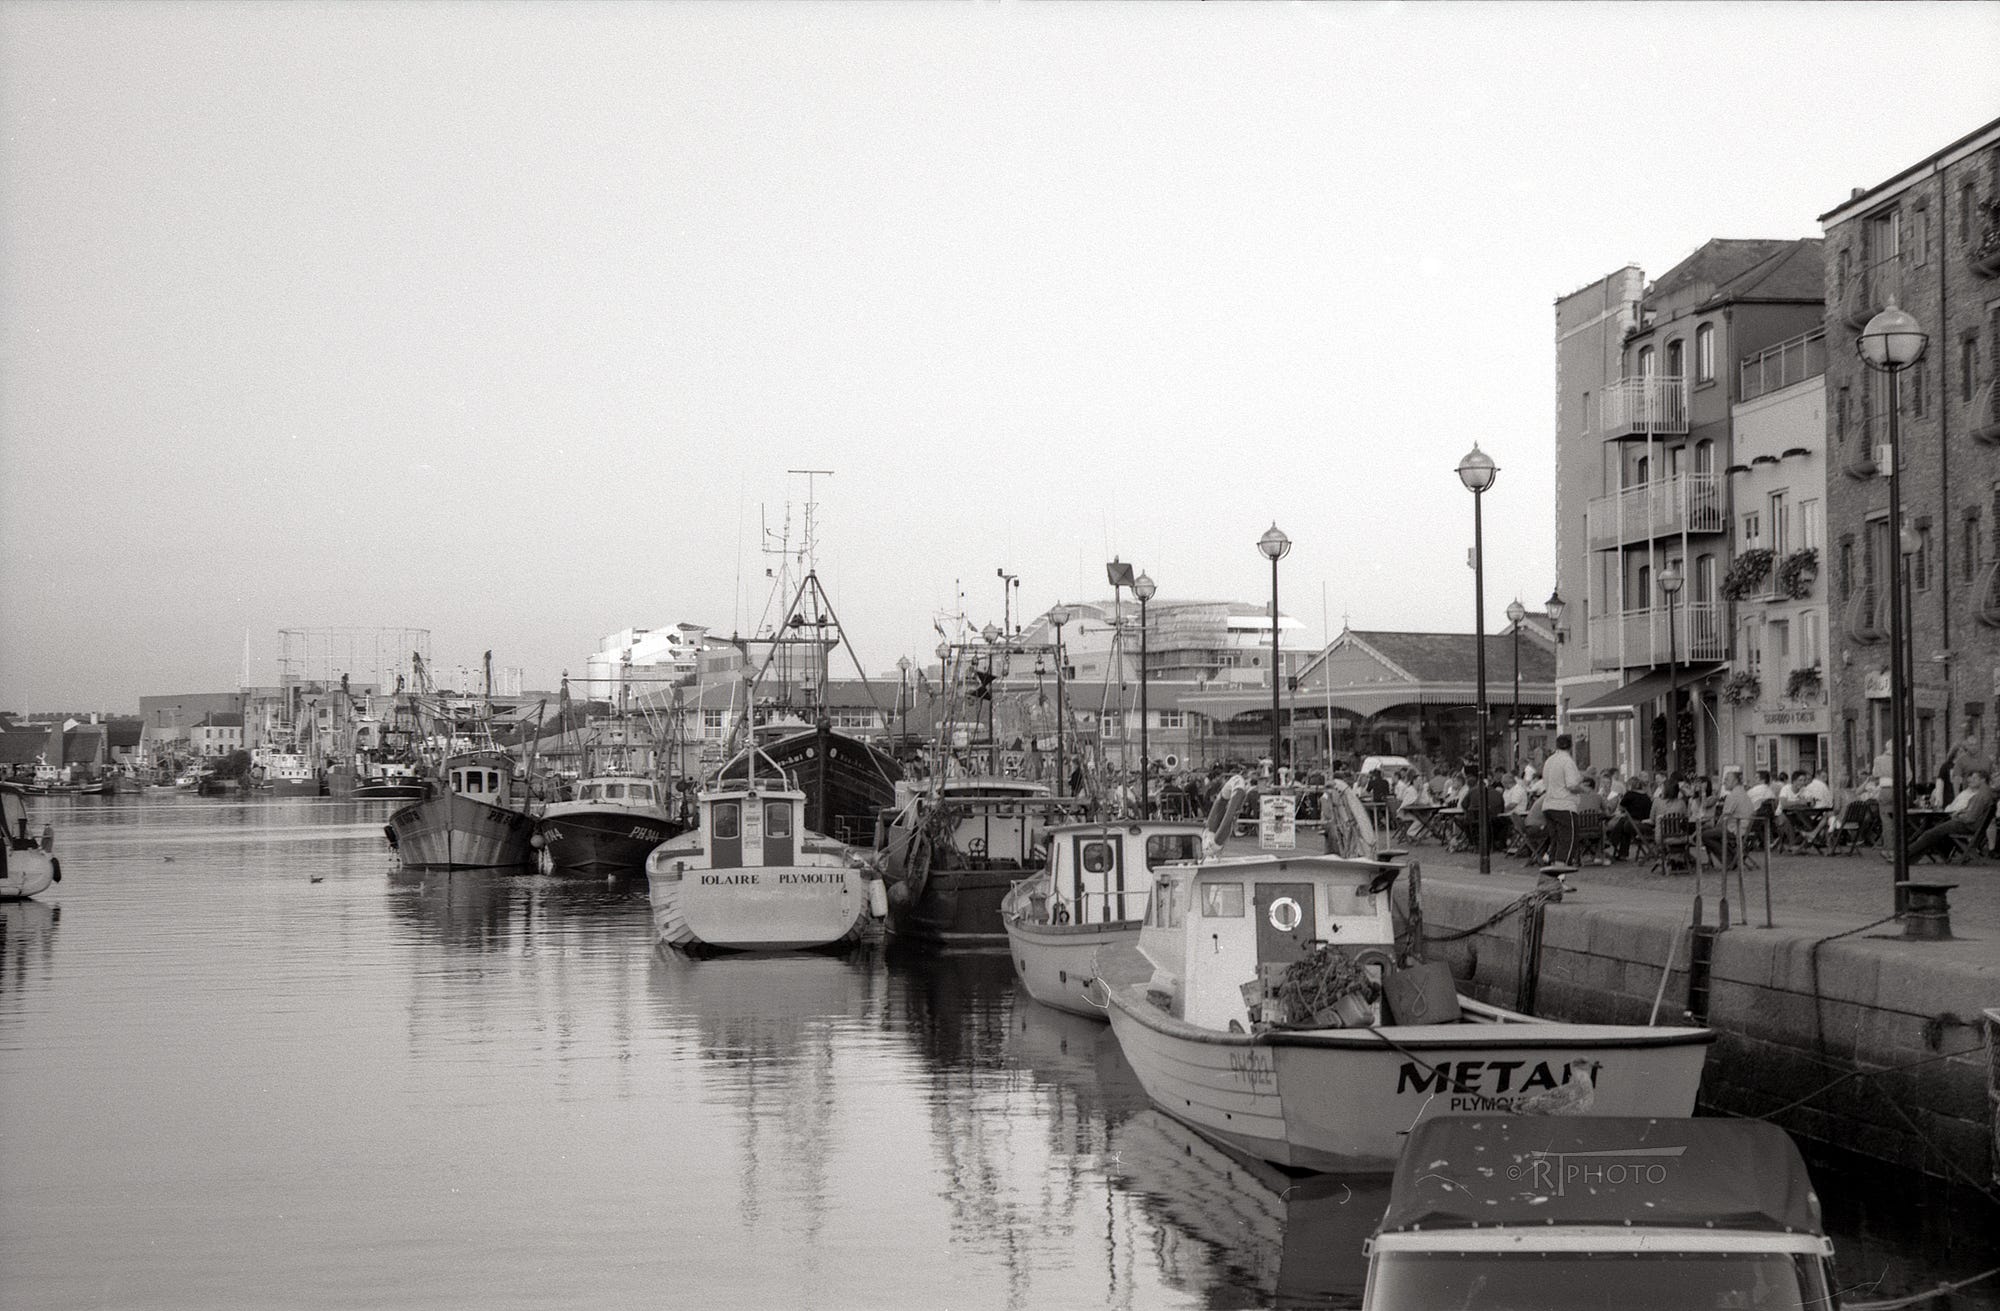
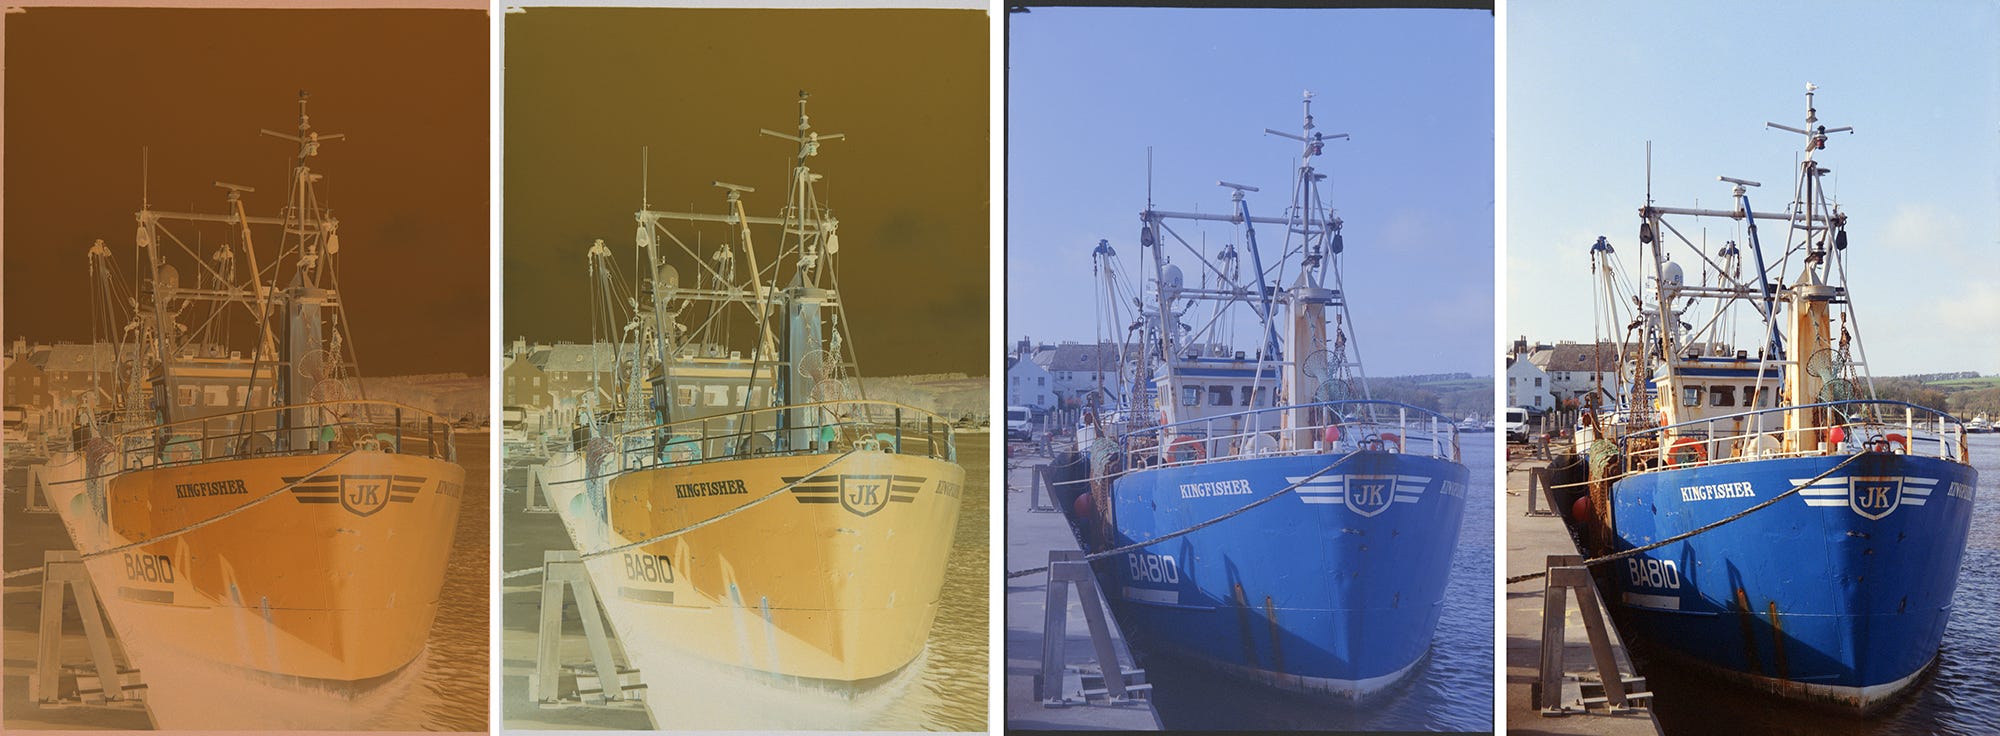
From early that year film renaissance began , initially scanning with the Epson. After a while, though, my previous reservations about the flatbed started creeping back in. Within months I started looking more seriously at the camera scanning option. My early endeavours in this arena are described in some detail here. Somehow, using my old enlarger in a sort of 'reverse printing' arrangement gave the whole process an extra (and for me, satisfying) dimension, fairly hands-on and vaguely like being back in the darkroom but with all the conveniences of a digital workflow. That Pentacon 30mm f3.5 did a memarkably good job considering my use of it was wildly outside it’s intended purpose, though not without a few issues (there were workarounds for these). Shortly after this article was published, though, I changed the lens to one of the older style Schneider enlarging lenses, the Componon 50mm f4, a cracking little optic for this purpose on the micro four thirds format. Similarly crisp as the Pentacon in the centre of the frame but far better behaved at the frame periphery. Sadly, though, that particular copy of the Panasonic GX1 had a slight but problematic issue with it's sensor on colour negative film, so...


....Opportunity (coupled with a sizeable dose of 'why not?') led to an upgrade. A secondhand Fuji X-A3 mirrorless APS-C camera came up at a very favourable price from a certain auction site. Unfortunately the little Componon lens I'd been using didn't fare quite so well on the larger sensor at these close magnifications. The poor Pentacon would not have coped at all well either, so yes, you guessed it, another upgrade.
The next bit is even more nerdy, I'm afraid, so you may wish to skip onto the following paragraph.
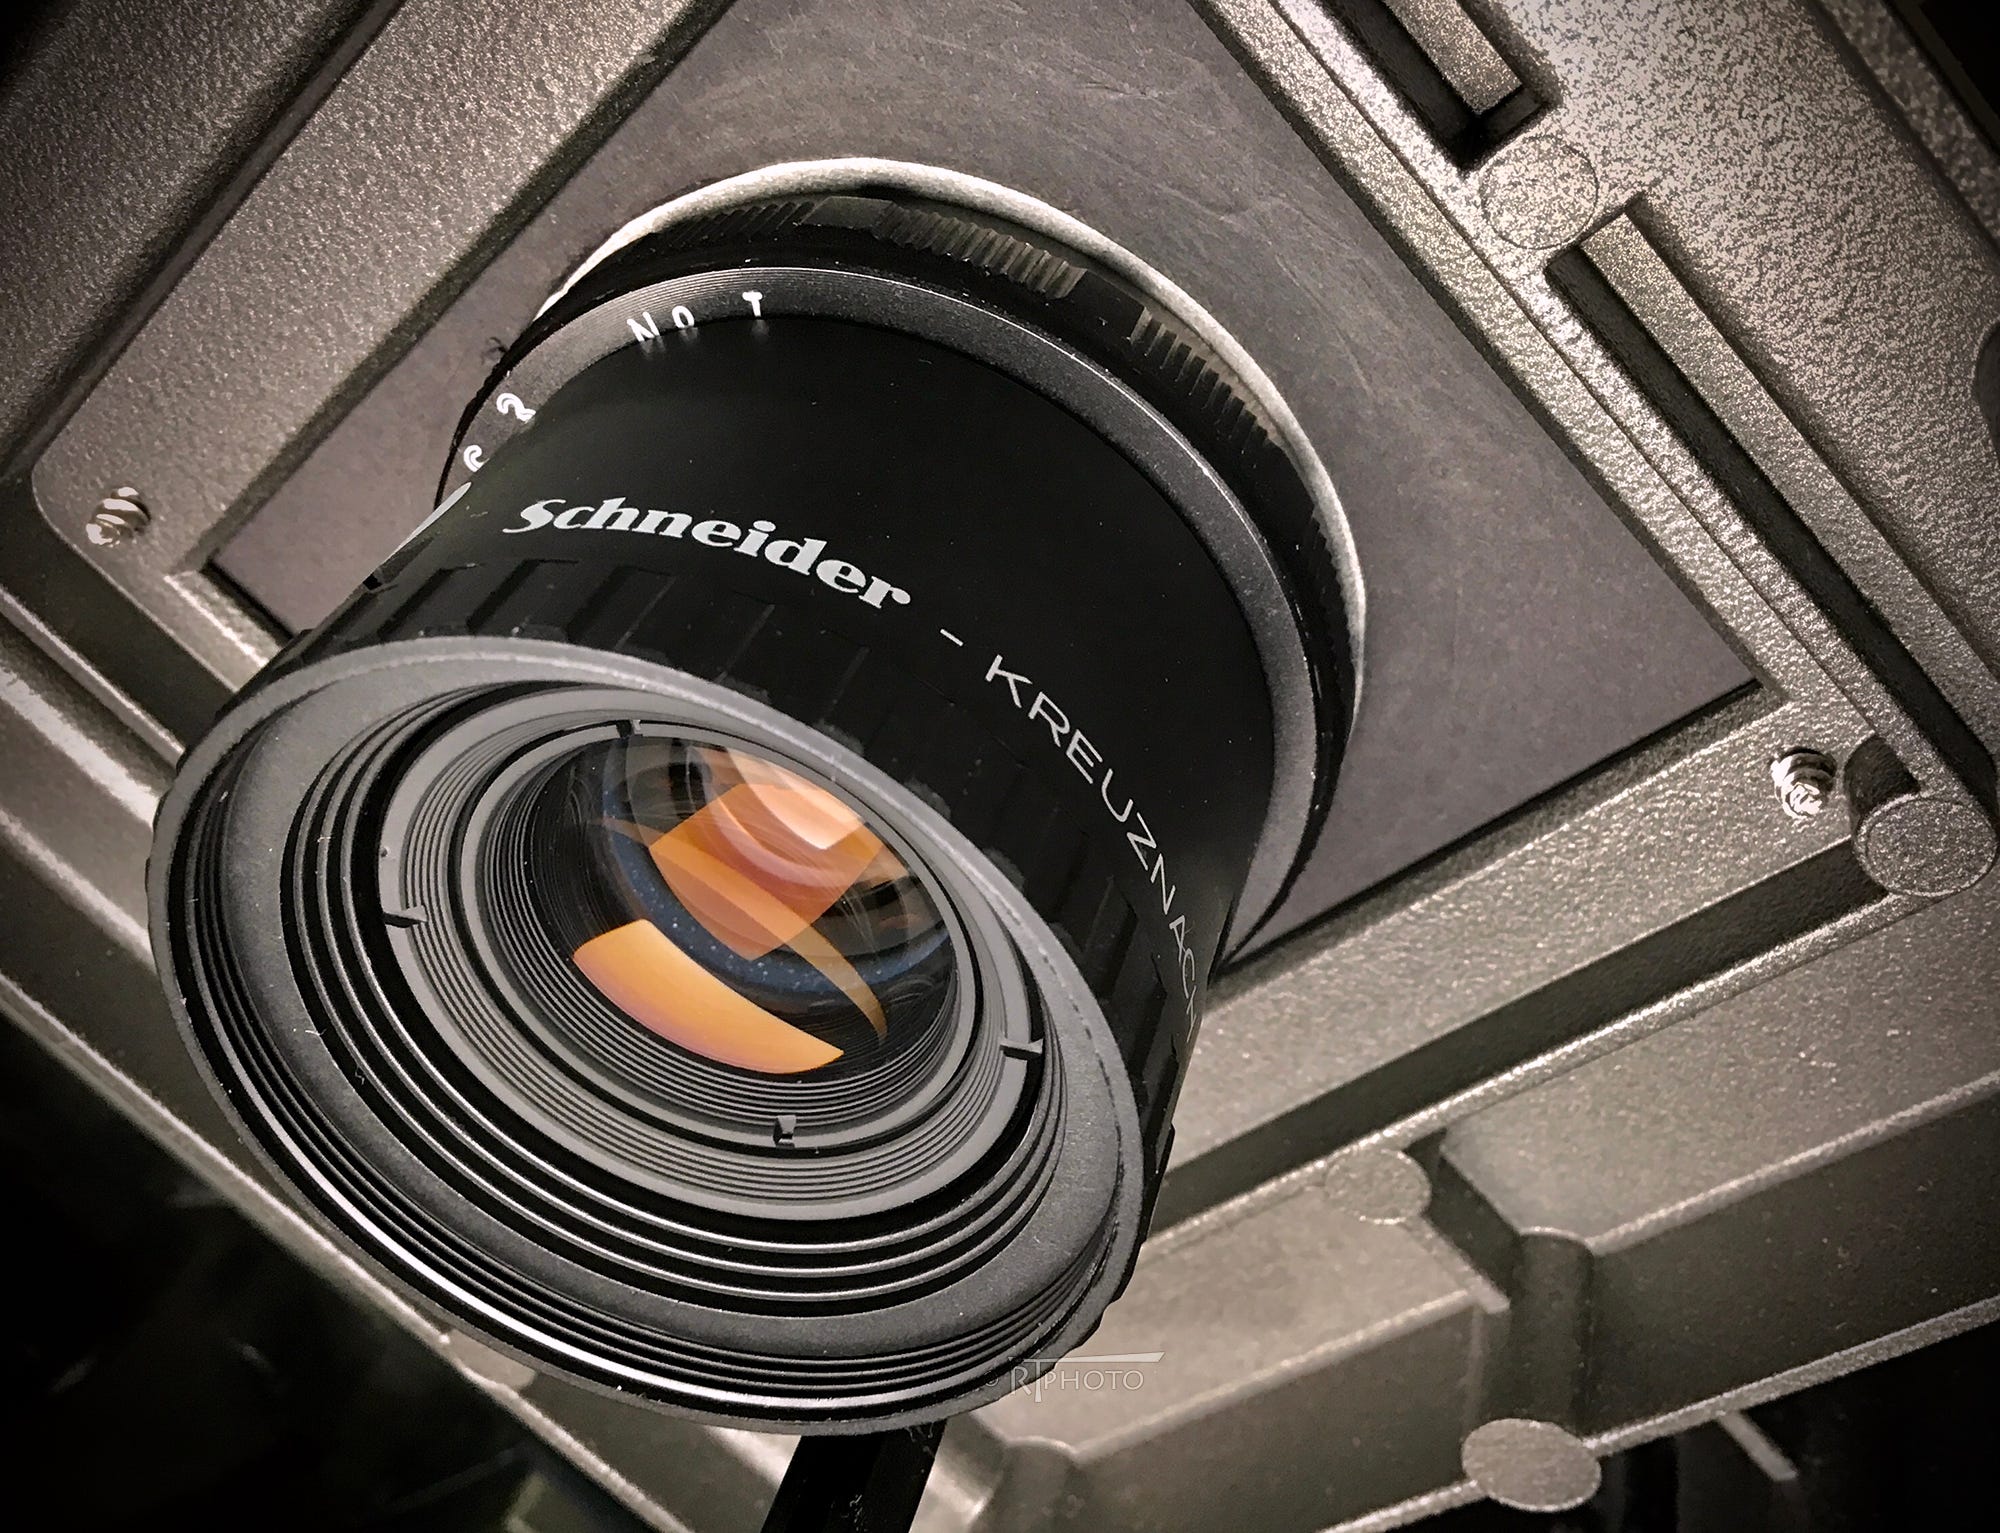
Back in, I believe, the 1970s, Schneider introduced a slightly faster, redesigned 50mm optic, the f2.8 Componon-S, arguably one of the finest of it's type at the time at typical enlargements around 10-15x (equivalent to a macro ratio of 1:10 to 1:15). The 80s saw a further development from the five element version to the plasmat-style six element type. This later version was the equal of it's previous incarnation at typical silver print enlargement ratios, but proved itself much more versatile, more or less maintaining this stellar performance over a far broader range of negative-to-print (or in, this present case, film-to-sensor) enlargement ratios and was specified down as far as 1:2 (or half life-size in macro terms)*. Used with an APS sized sensor for 35mm scanning, this ratio gets even closer to unity and a little beyond it's design limits, yet it still offers a fantastic performance with very high sharpness right into the corners of the 24MP sensor.
So, having said all that, I confess that I am fortunate in having one of these optical gems. The Fuji X-A3/Schneider Componon-S 50mm combo suits me well.
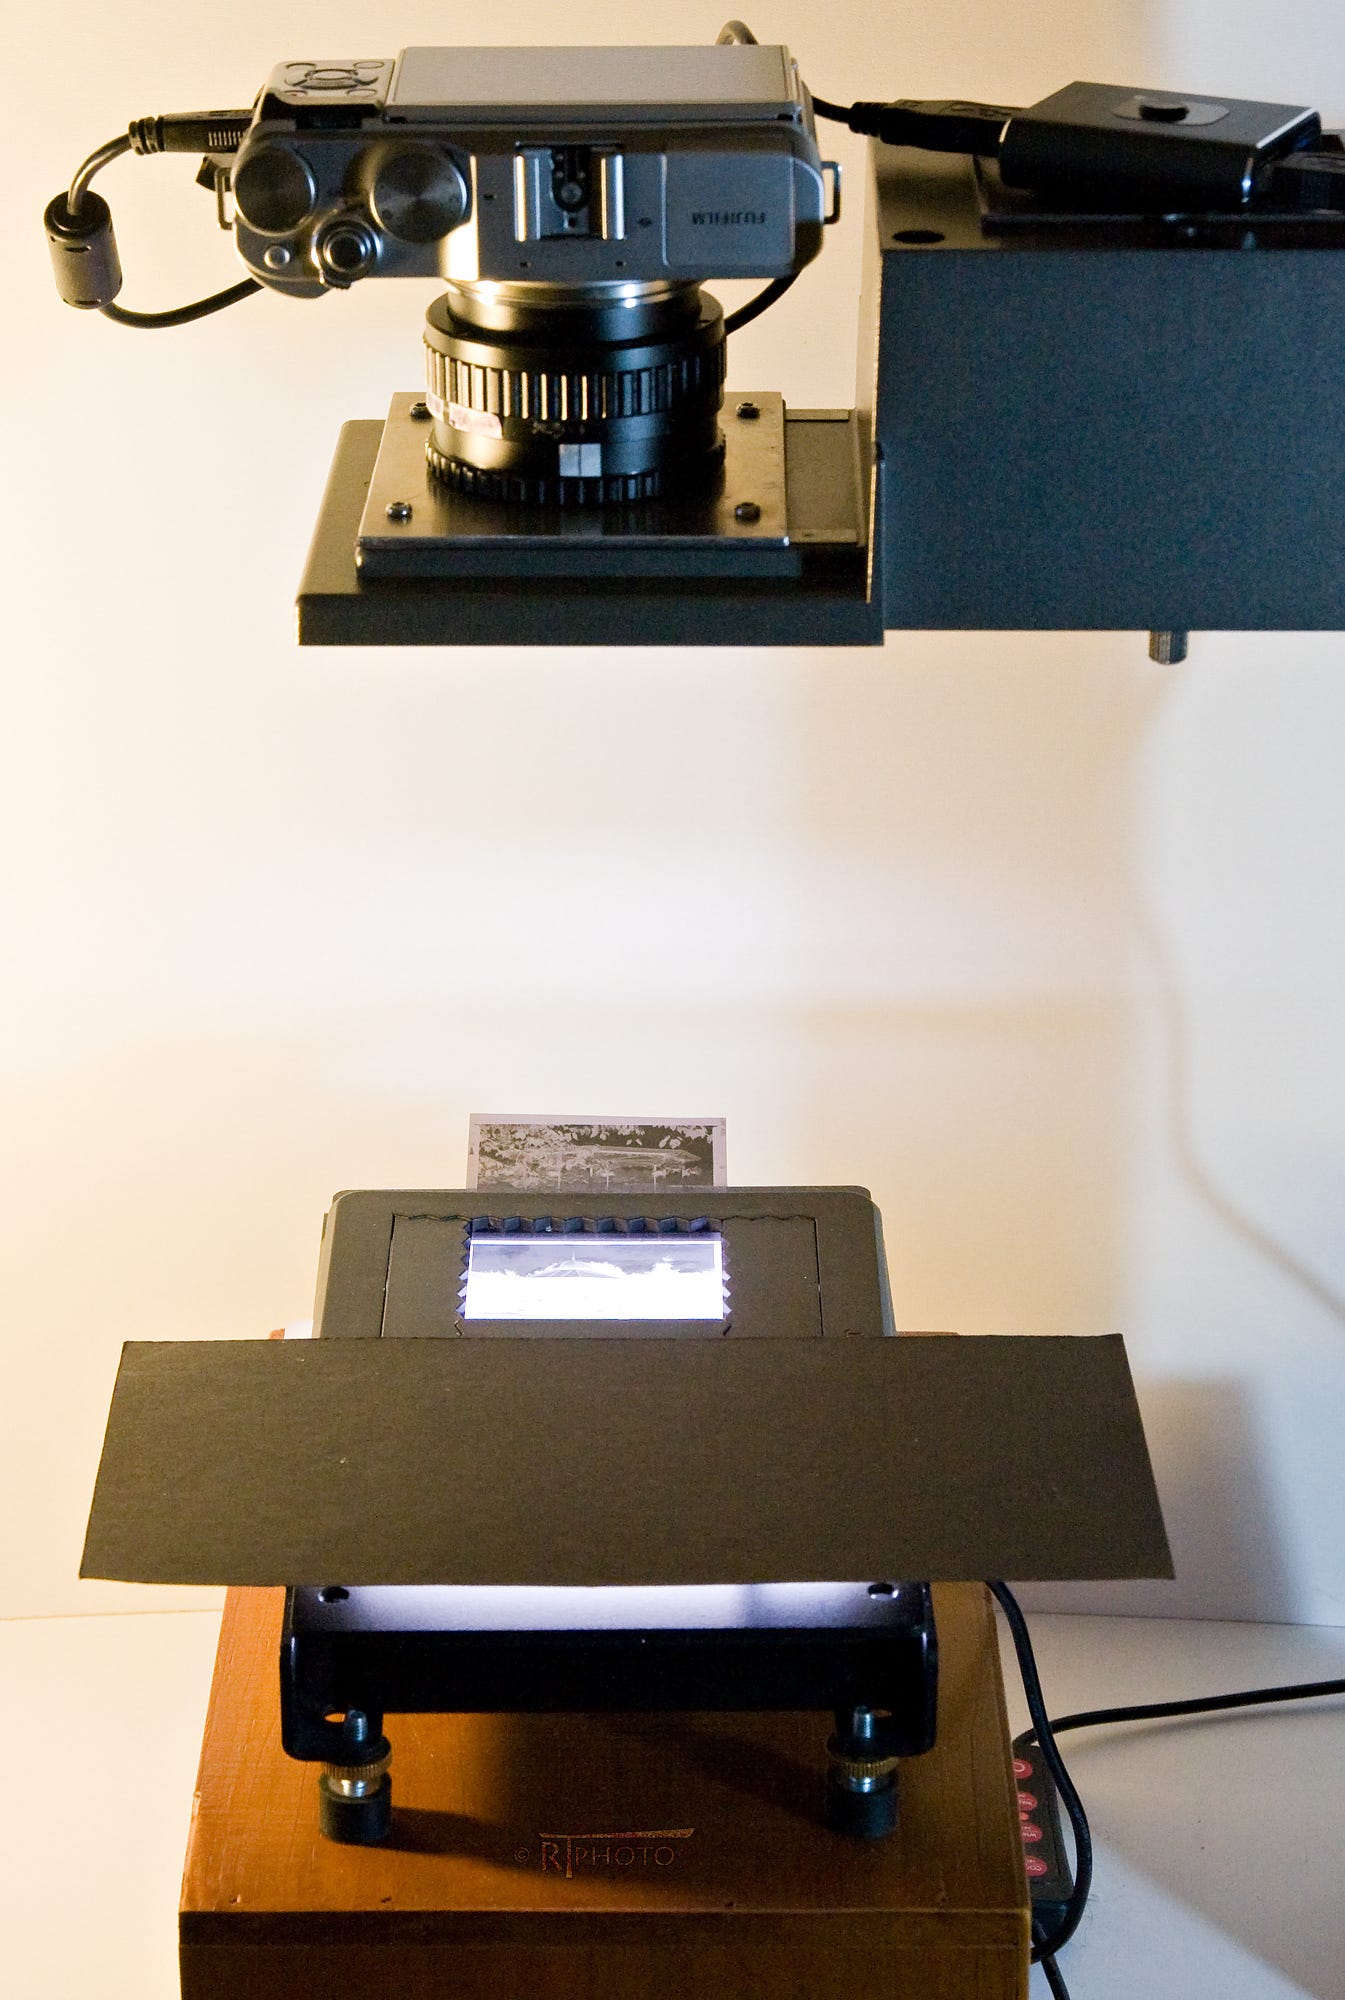
The role of holding the film flat now falls to a combination of a mildly customised Valoi 360 and a pixl-latr, depending on the format in hand (from Minox to 5x4). It has it's own dedicated light source rather than the old and somewhat bulky lightbox I had been using, although this still gets used for multiple mounted transparency scanning in a homemade holder.
As time has gone on, the odds of me getting back into the darkroom disappear further into the mists, yet I still can't bring myself to irreversibly modify my old Durst, so I'm still sandwiching the handmade aluminium mounting plate between lens and adaptor flange. When the adaptor focus helicoid is rotated, it's the camera body that moves up and down rather than the lens - Heath Robinson would still be proud.
I have the usb port on the camera permanently connected to the computer via a switch that allows me to easily toggle between capture mode and image transfer mode.
When I got the Fuji I discovered that my version of Lightroom doesn't support it, so being the cheapskate that I am, I started using the excellent, if convoluted, freeware option of Raw Therapee. To this day I've barely scratched the surface of what it's capable of, doing just enough to produce a good, consistent conversion from raw files. From there the basic scan is opened in my rather dated Photoshop Elements Six. Here I carry out all the editing operations I need.
Since it's first iteration, my rig has cost me a fair bit more than I'd originally anticipated. Despite this, it's still relatively inexpensive and has certainly been worth it, turning out rather more successfully than I imagined.
I hope you enjoyed this slightly geeky article and hope to catch you next time. If you’re interested, please feel free to comment or ask any questions below. Take care.
* The Componon-S in it’s modern guise is still produced for industrial use.
<^>^<^>
Thank you you for stopping by. If you enjoyed reading this please consider making a contribution to our collective future and plant a tree or visit:
I’m here for the nerd fest!
Ralph: you may want to skip this portion
Me: *reads harder*
A lot of it went over my head, but you still make it an enjoyable read. Your enthusiasm shines through enabling me to skim over the techy bits. I bet you find some real gems in that archive! 👏🤠