
Experimental
Seeing things a little differently.

With a tiny pinhole and a big negative to work with, who needs a lens?
I admit, though, my photographic pinholing experience has been, to date, pretty limited. It's something I've briefly dabbled with on the odd occasion, but that's it. My first attempt many years ago came in the form of an old decrepit 6x9 folder where I removed it's lens elements and replaced them with a pinhole, still retaining the shutter unit. Other than a couple of light leaks, it works quite well, though with a fairly normal angle of view. Other than that, all I have tried is a body cap pinhole on my dslr. In both cases I've only played with pinholing briefly.


Inspired by other folk's creativity with modifying old cameras for the purpose, I took the plunge with a non-functioning Ensign Selfix 20 folder. Until this little project, just the idea of setting to on a camera with an angle grinder would have been a total anathama, the stuff of nightmares, but needs must..
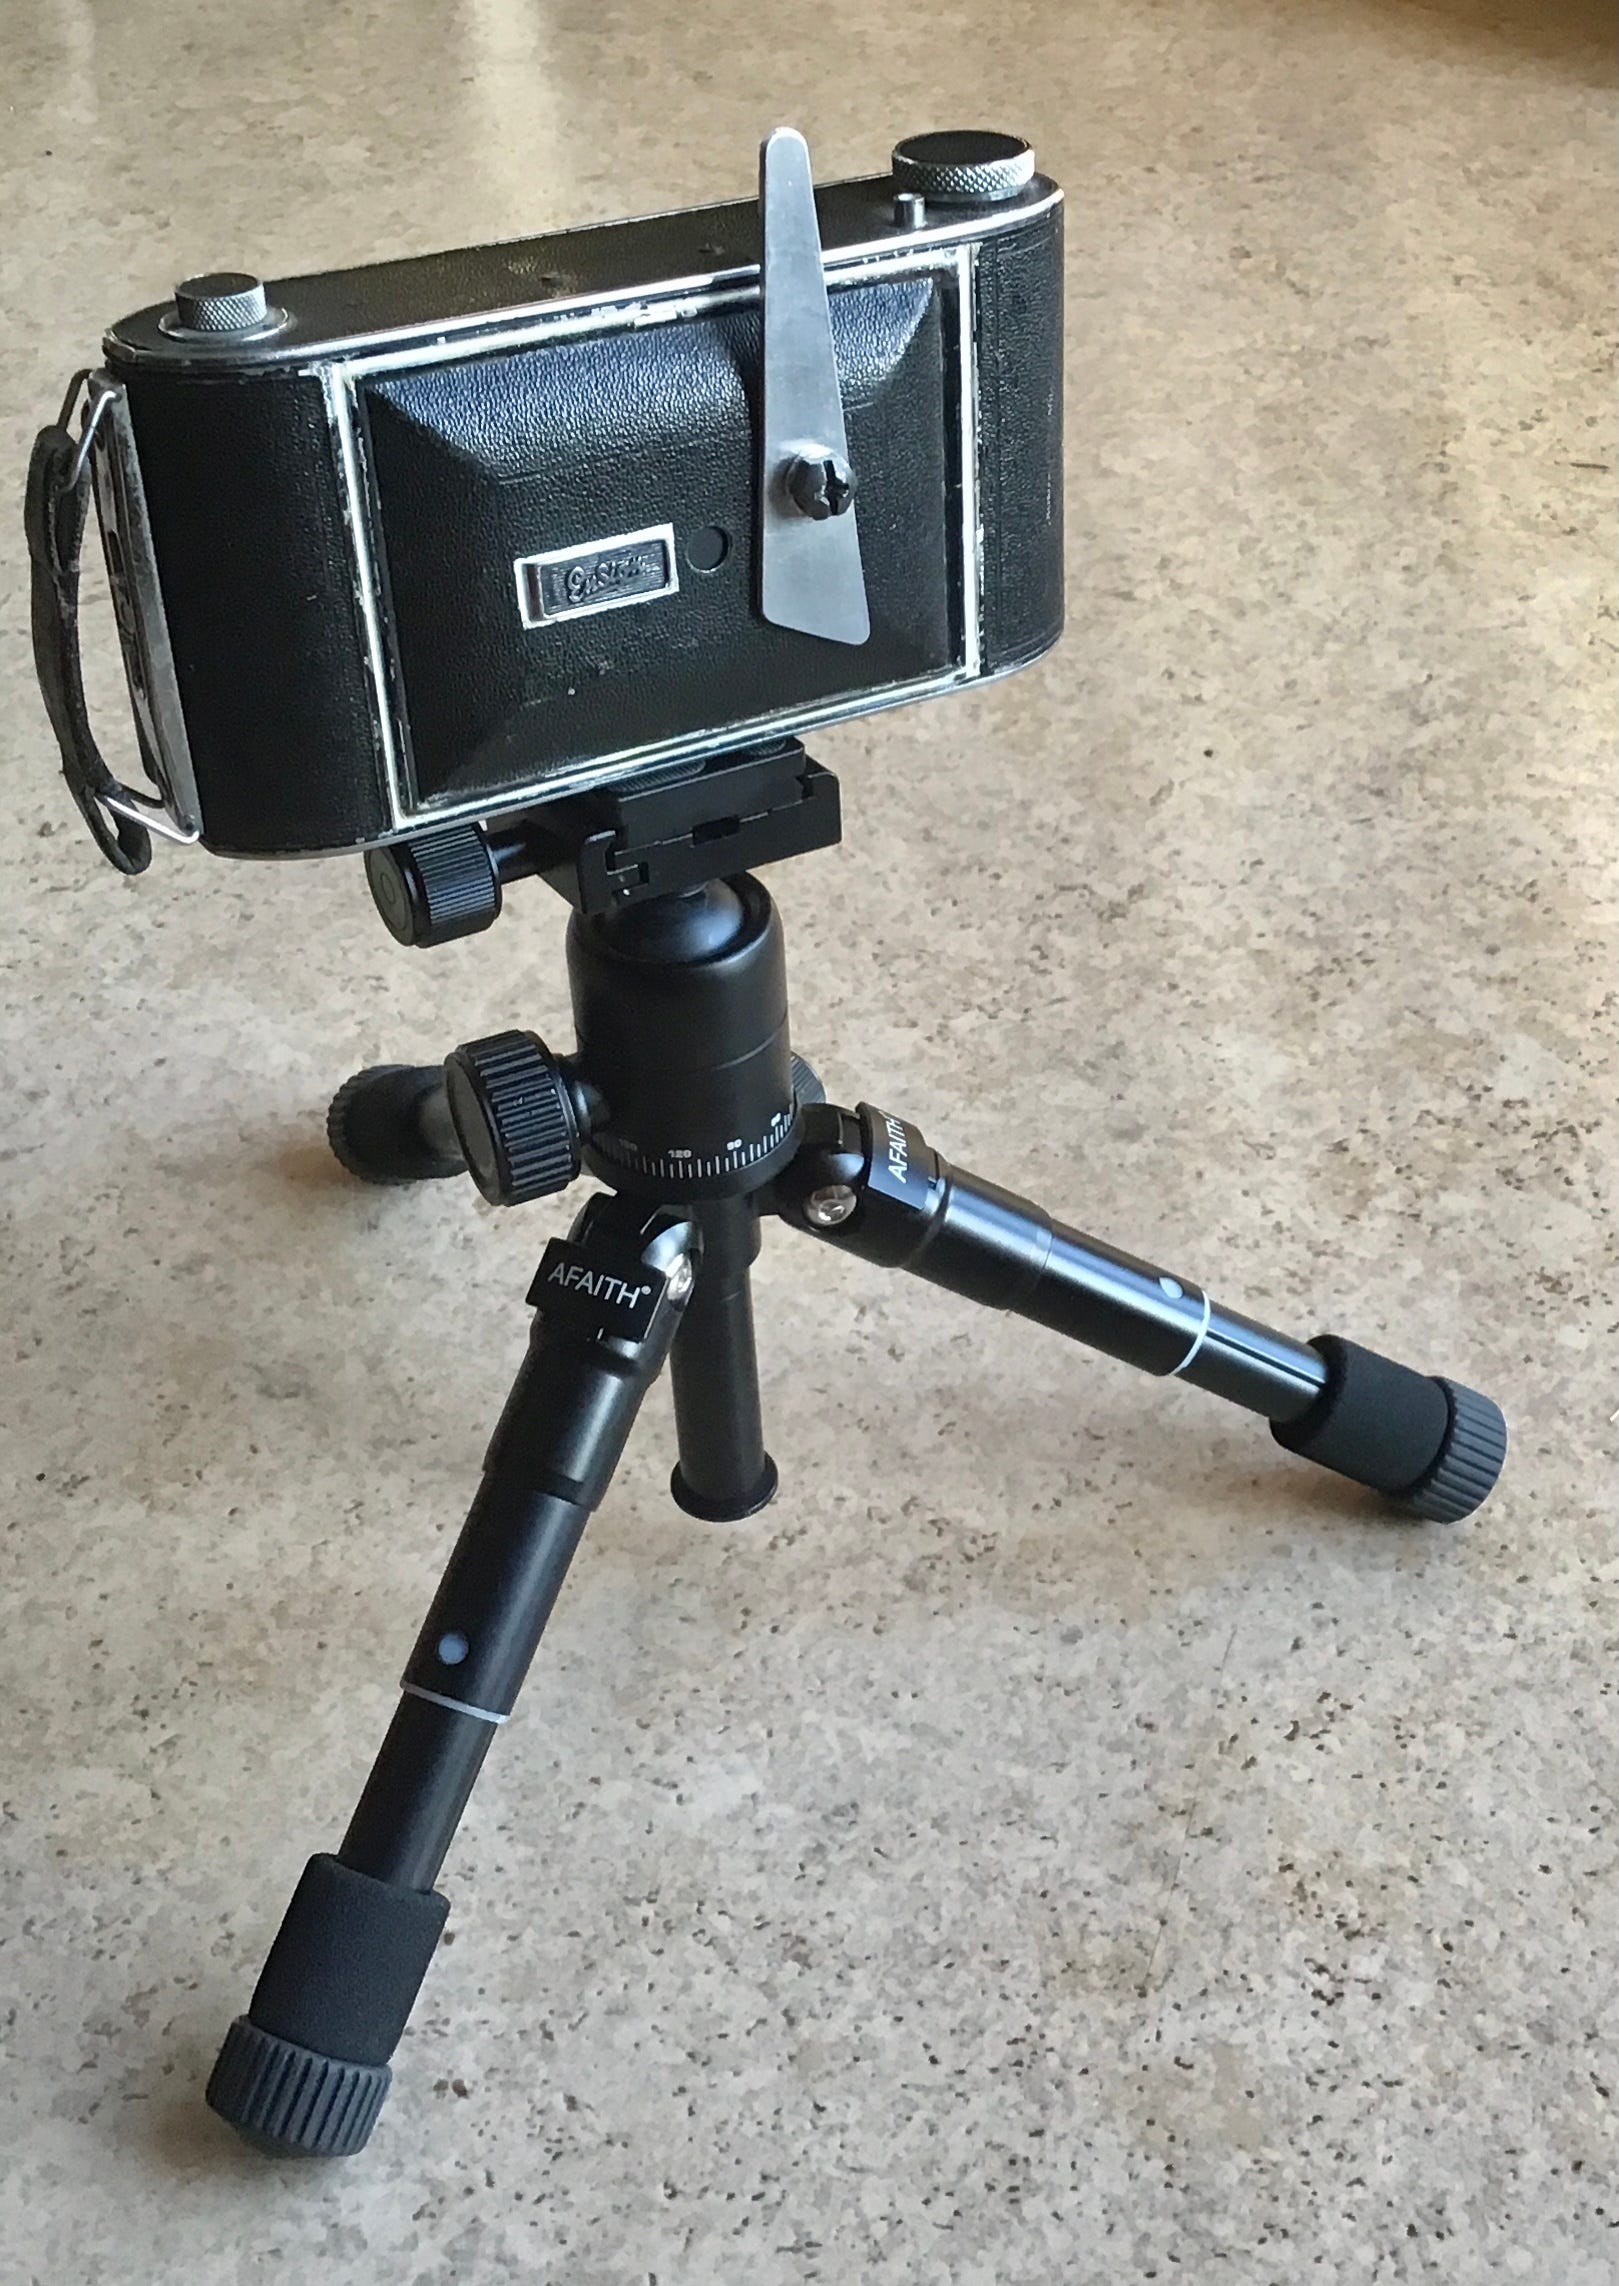
I wanted to retain the front cover and the main body/film chamber, but didn't need the lens/shutter unit or the bellows, so the latter was removed fairly easily. As the front cover would be permanently closed, the struts weren't needed either, but removing these was a little trickier, so this is where the grinder came in.
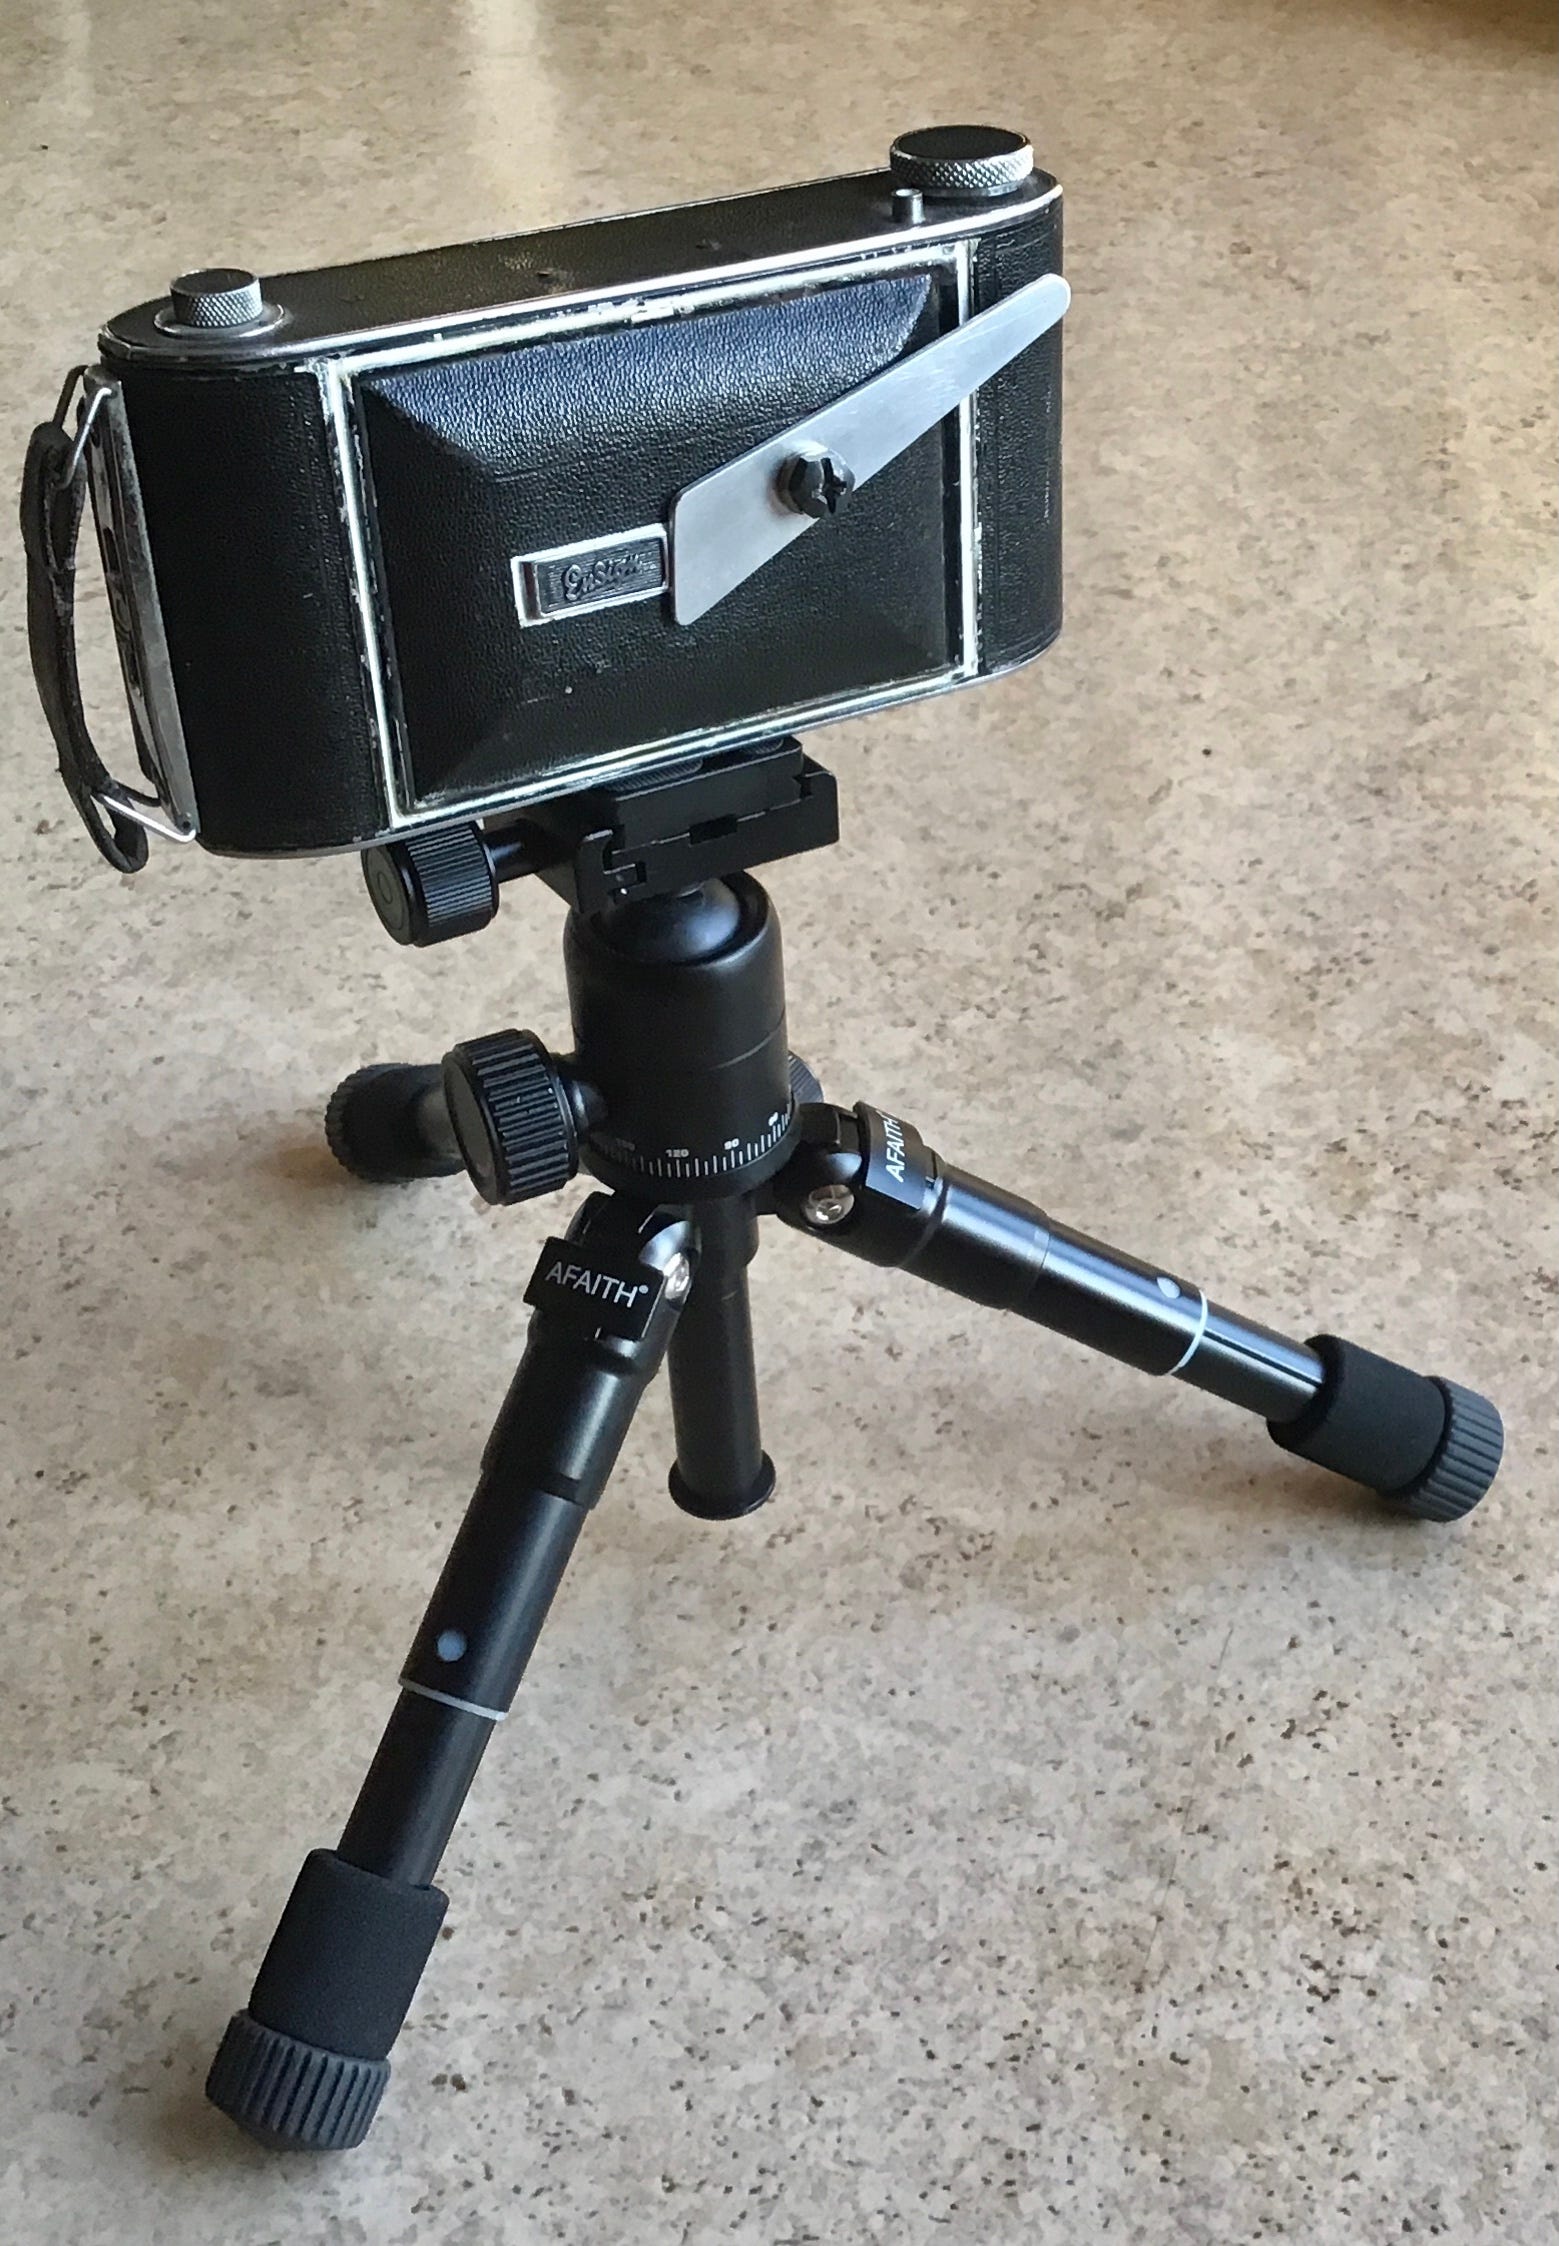
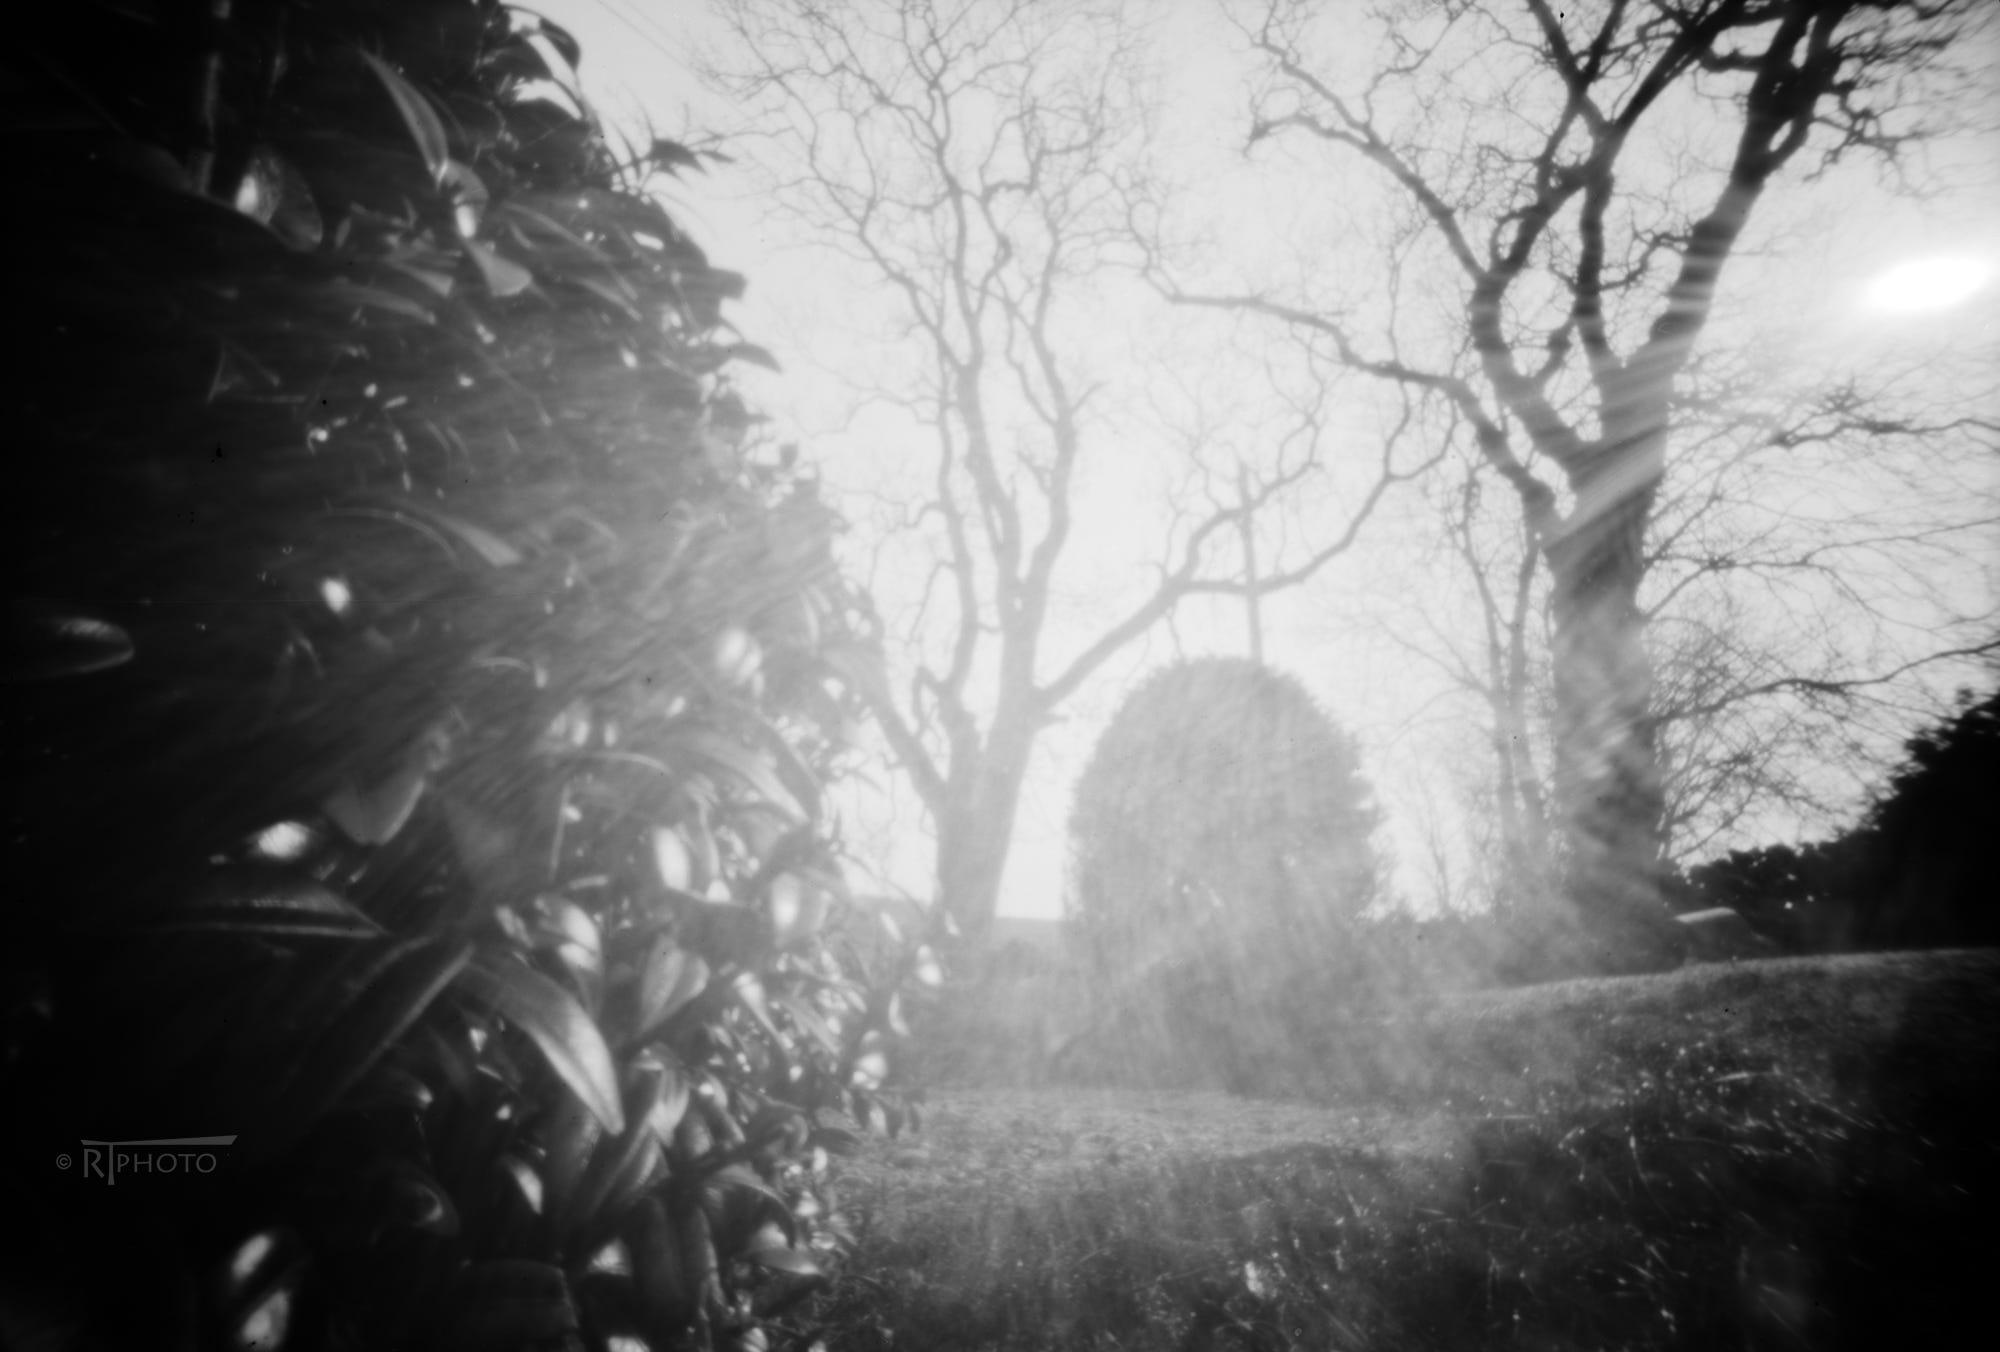
In the end, all that was left was the main shell and the hinged front cover door. Once fhis was closed for the last time, it was sealed shut with sealant to help make it light tight. A hole was drilled in the middle of the cover door corresponding to the centre of the image frame onto which the pinhole plate was then mounted (held in place at the moment with black pvc tape). This gave a focal length of around 40mm, a very wide angle of view. I made use of the threaded supplementary tripod mount on the cover by making it the pivot point for a makeshift shutter. Once all was done, the inside was sprayed matt black.


Putting the first roll through it a while ago highlighted a few remaining light leaks which have been dealt with since.
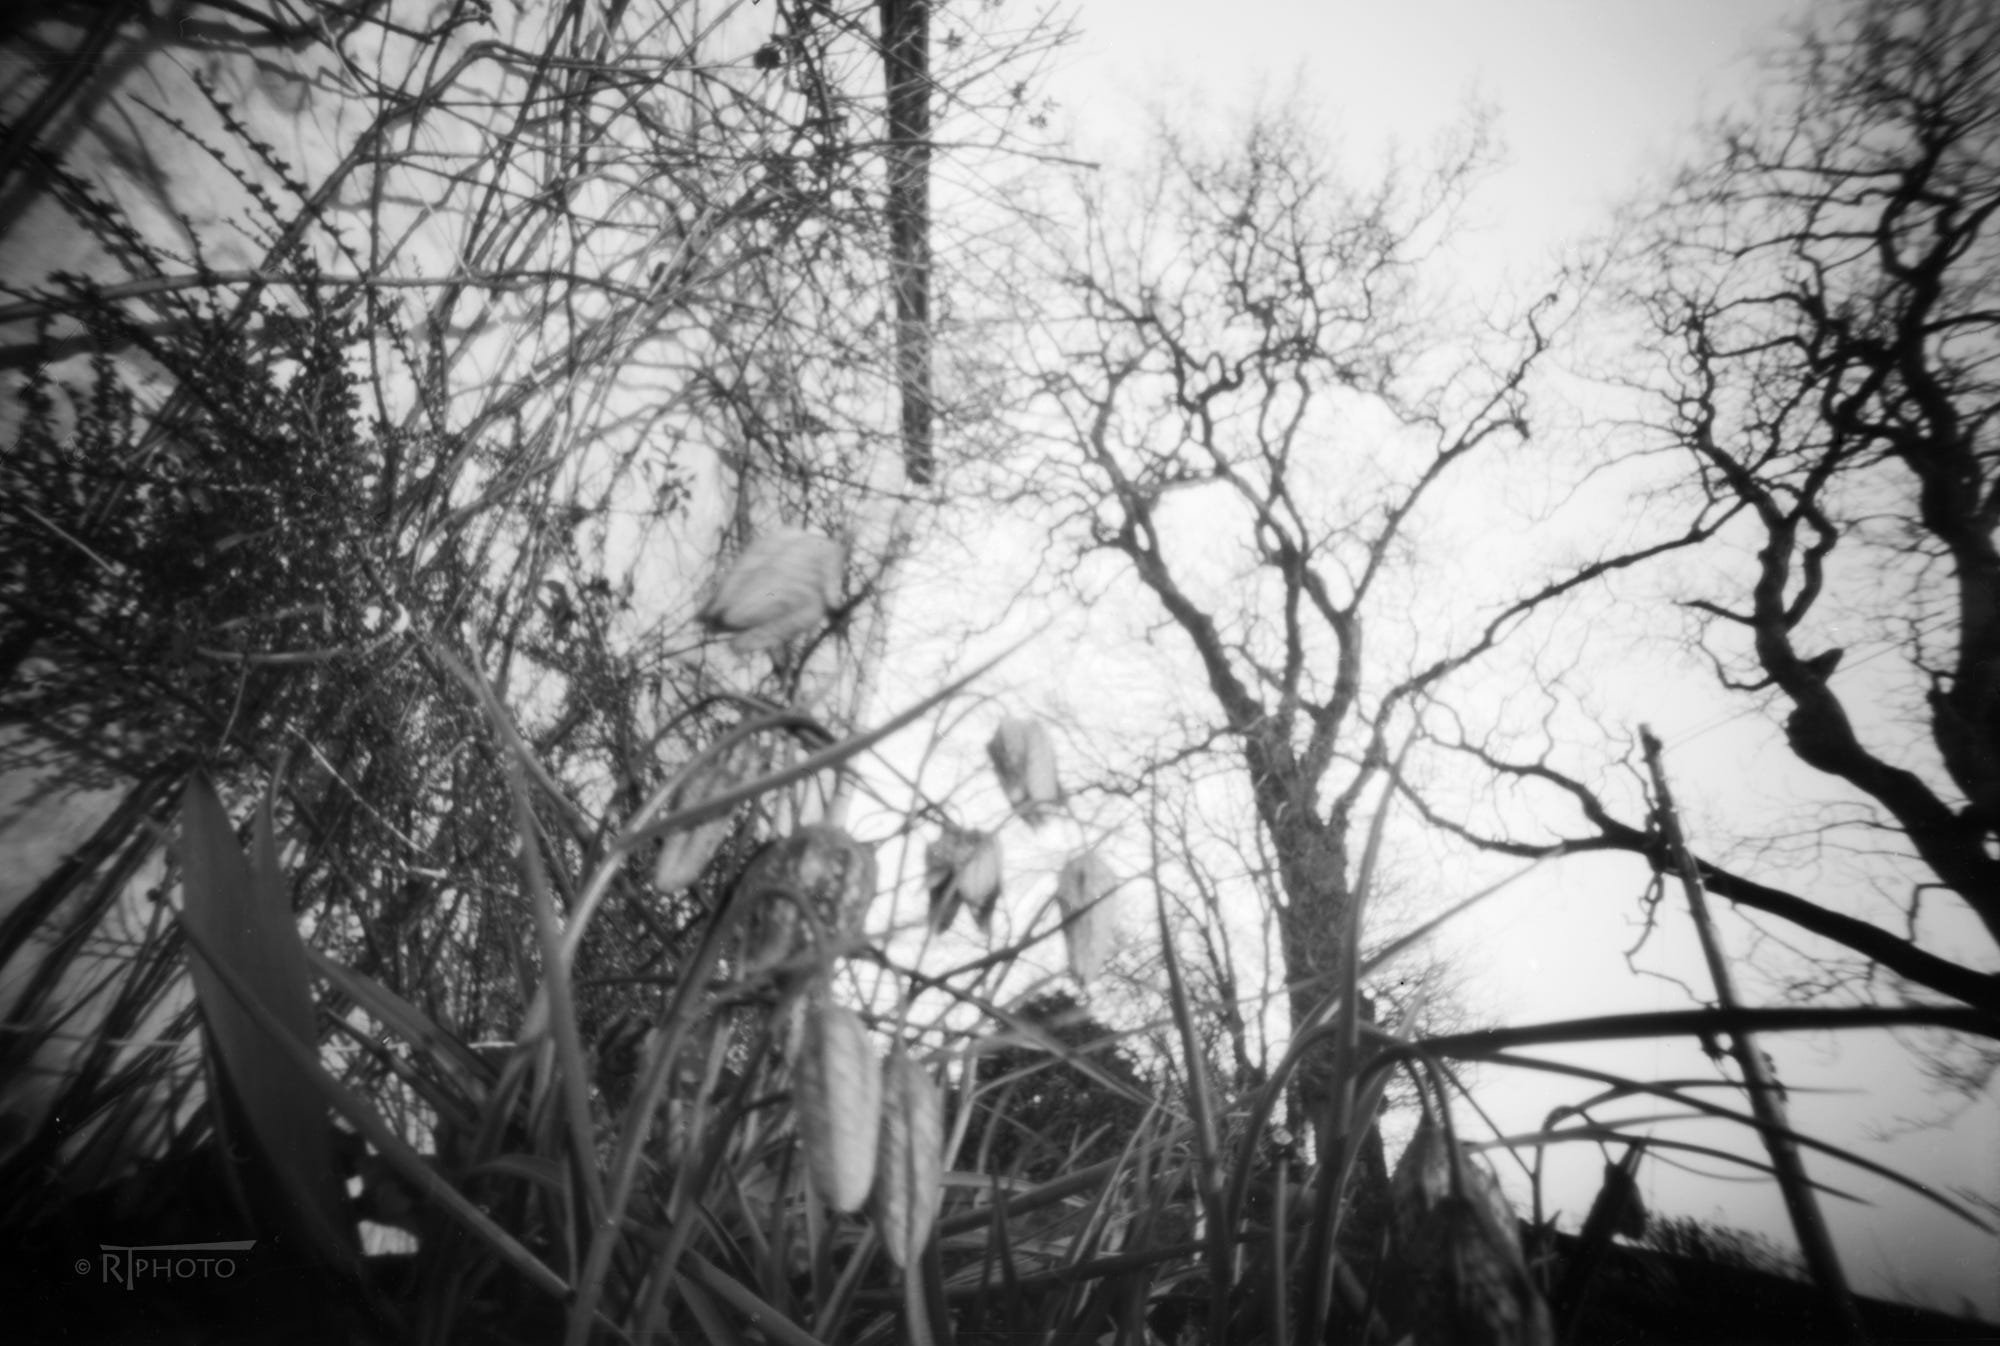
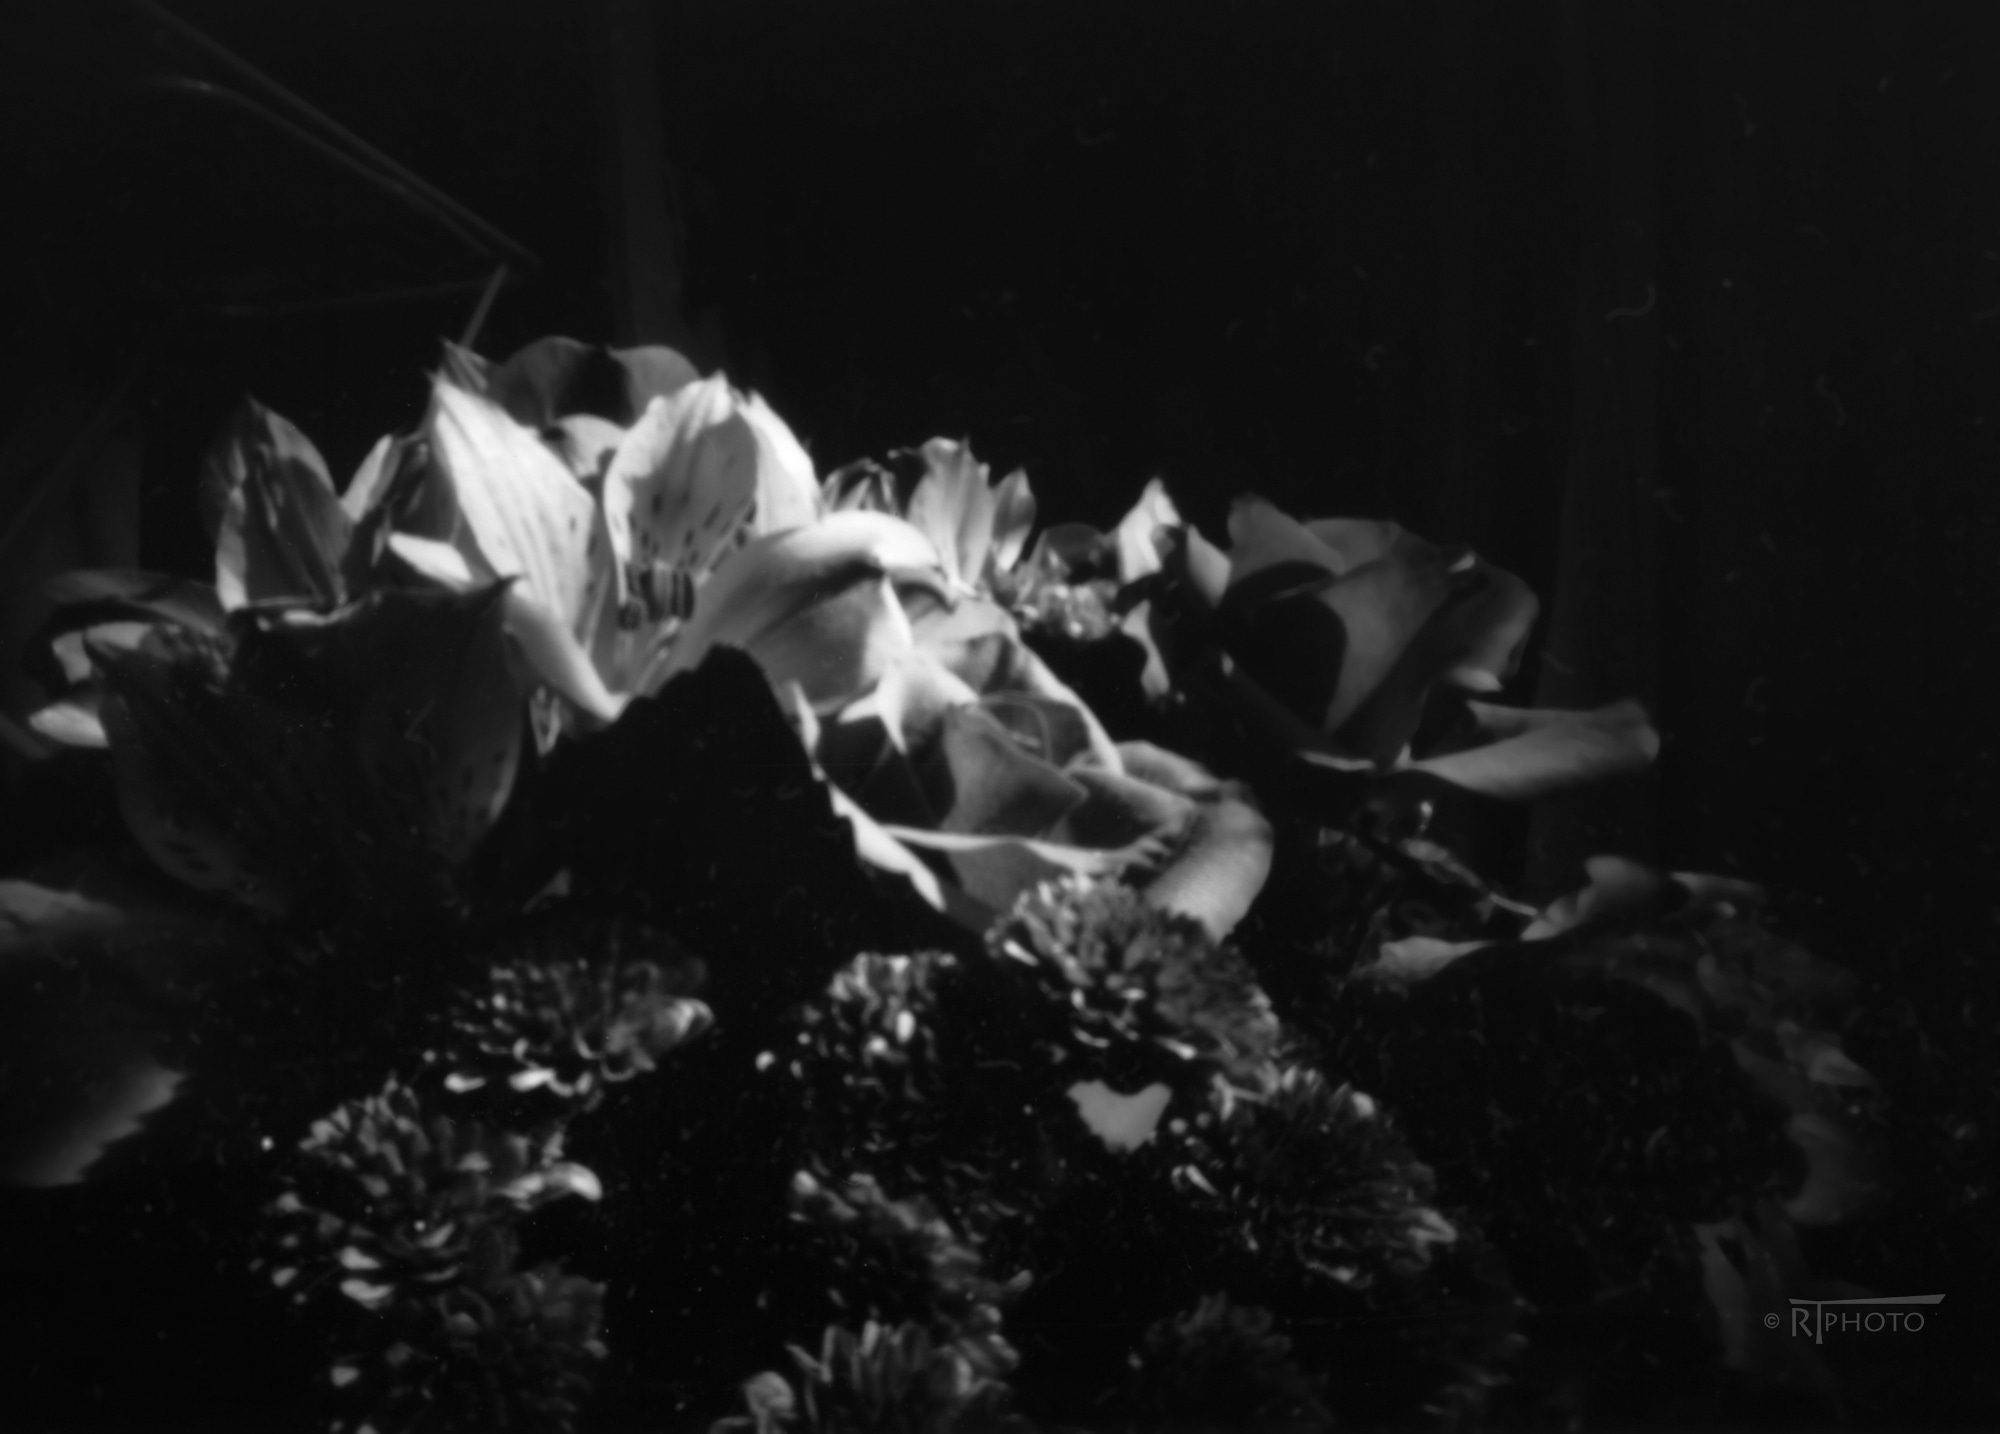
In for a penny, in for a pound, as the saying goes. Perhaps no truer sentiment for me in this latest endeavour. For the Ensign Pinhole's second outing I decided to take the plunge and really slow things down by loading a roll of NoColorStudio's Experimental No.5. This is a high contrast orthochromatic film with a box speed of 5 iso. Having shot a 35mm roll at box, I found the exposures were a little thin, so this time I downrated it to 3.
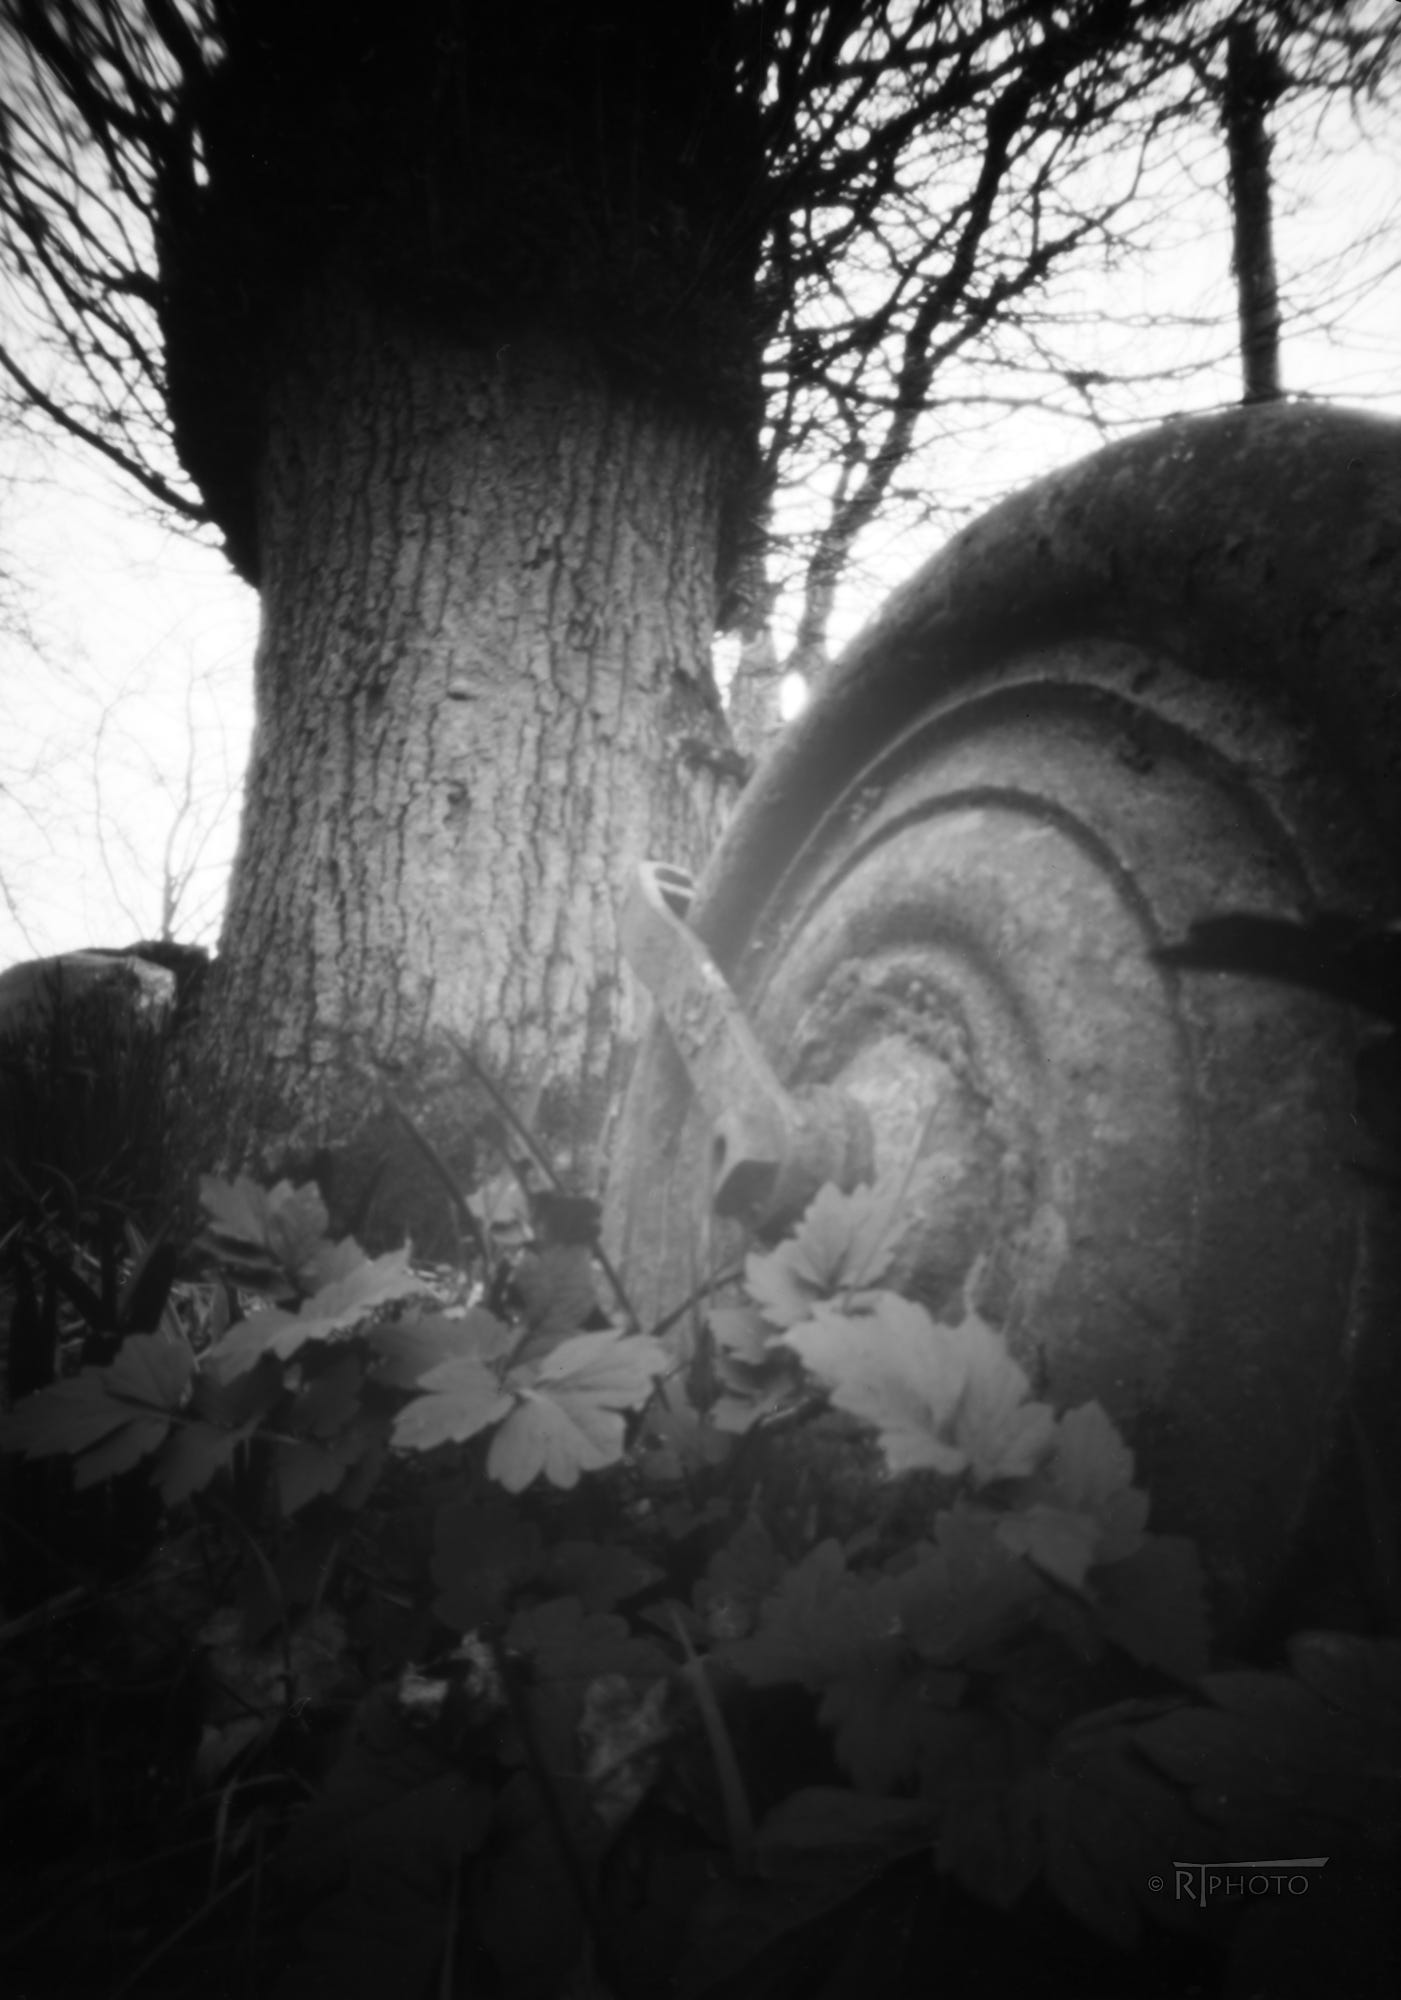
One issue that cropped up with each exposure, here, was the inevitable reciprocity failure issue. I couldn't find any guidance online, so I stuck my finger in the wind and used Ilford's guidance for their excellent Ortho 80+. There's no corrolation other than both emulsions are orthochromatic, but in the absence of anything else, why not? Exposures were all in the range of two to twenty or so minutes.

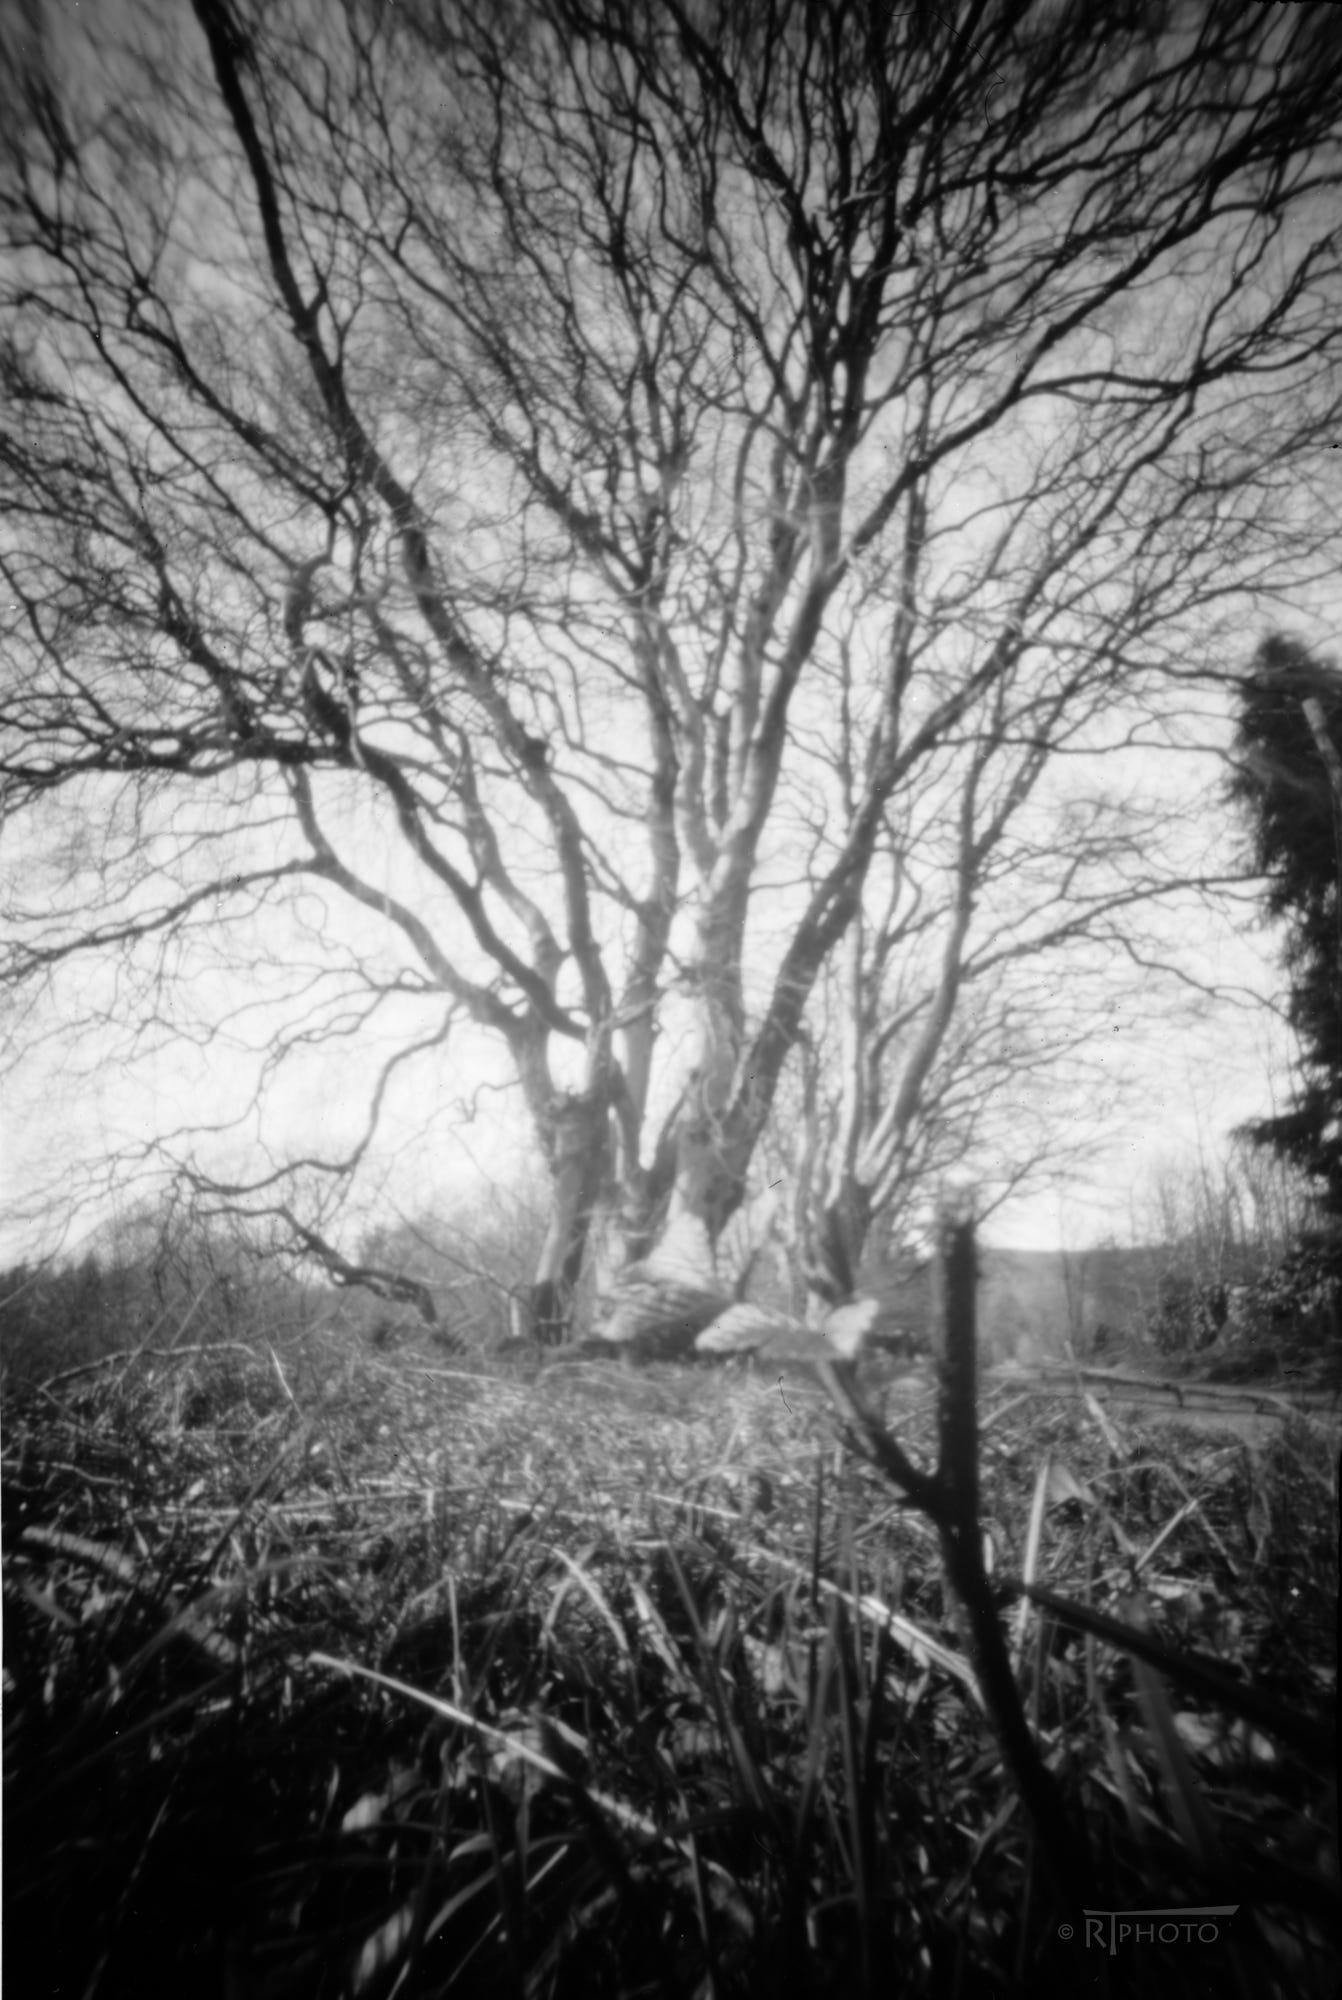
I sat the camera on my little tabletop tripod which enabled me to get down good 'n' low.
Once finished, the film was developed as usual in my regular caffenol recipe, though not before a battle to get the film on to the spiral of my old Photax tank. Every time I thought I had the leading edge lodged under the little ball bearings, it just dropped out again. After a number of failed attempts to get it started I unwound the whole roll and tried the taped end instead, hoping the tape might help give the very thin polyester base a tiny bit more rigidity. Nope, it wasn't happening. Well, what next? I then wondered if the spiral in my other tank (a Patterson System 4) would be sny better. I dropped the roll into the tank minus the spiral to keep it safe and put the Patterson into the changing bag as well to do the swap . As you can imagine, things had now become a little crowded. Anyway, the upshot of this was that I finally managed to get the film loaded. Phew!
Upon inspection afterward, it turns out that the film looks to have been cut a little narrow in places. No wonder it was a tad tricky. My hopes for a successful outcome were now a little shaky. This roll was the second in line through the process.

I needn't have worried about it's rough ride as the result was good, with few, if any, scars from the trauma.
Will I try more No.5? Definitely.
Will I shoot more pinhole? Also, definitely.
Both together again? Maybe..
~*~
For convenience I scanned the negatives on my old Epson 4870 flatbed. One thing I found, though, was the darkest areas of the image became blocked in, solid black. The base of No.5 is very clear and any faint detail in shadow areas falls outside the scanner's b+w mode settings. Fortunately, using the transparency setting and inverting at the editing stage gives a fuller range of tones without clipping.
~*~*~*~
Thank you you for stopping by. If you enjoyed reading this please consider making a contribution to our collective future and help plant a tree. All proceeds go to:-
Great as always, Ralph. I love your experimental spirit. It's contagious. 👌👏📷
I have to confess some of what you describe goes straight over my head but I am a fan of pinhole photography and I applaud your experimental nature. Thanks for sharing.